Hand Crochet, like Arm Knitting, but easier! Imagine that.
Arm knitting has been one of the largest DIY trends across the internet for the past 4 years. Why? Because it’s fun, easy, and the biggest reason…it’s FAST! The only thing most people don’t like about the arm knitting technique is that if you mess up it’s really hard to back track and fix your mistake which leaves you undoing the whole project and restarting.
With Hand Crochet all you have to do is unravel your work until you come to your mistake and then you can fix it and continue on with your pattern.
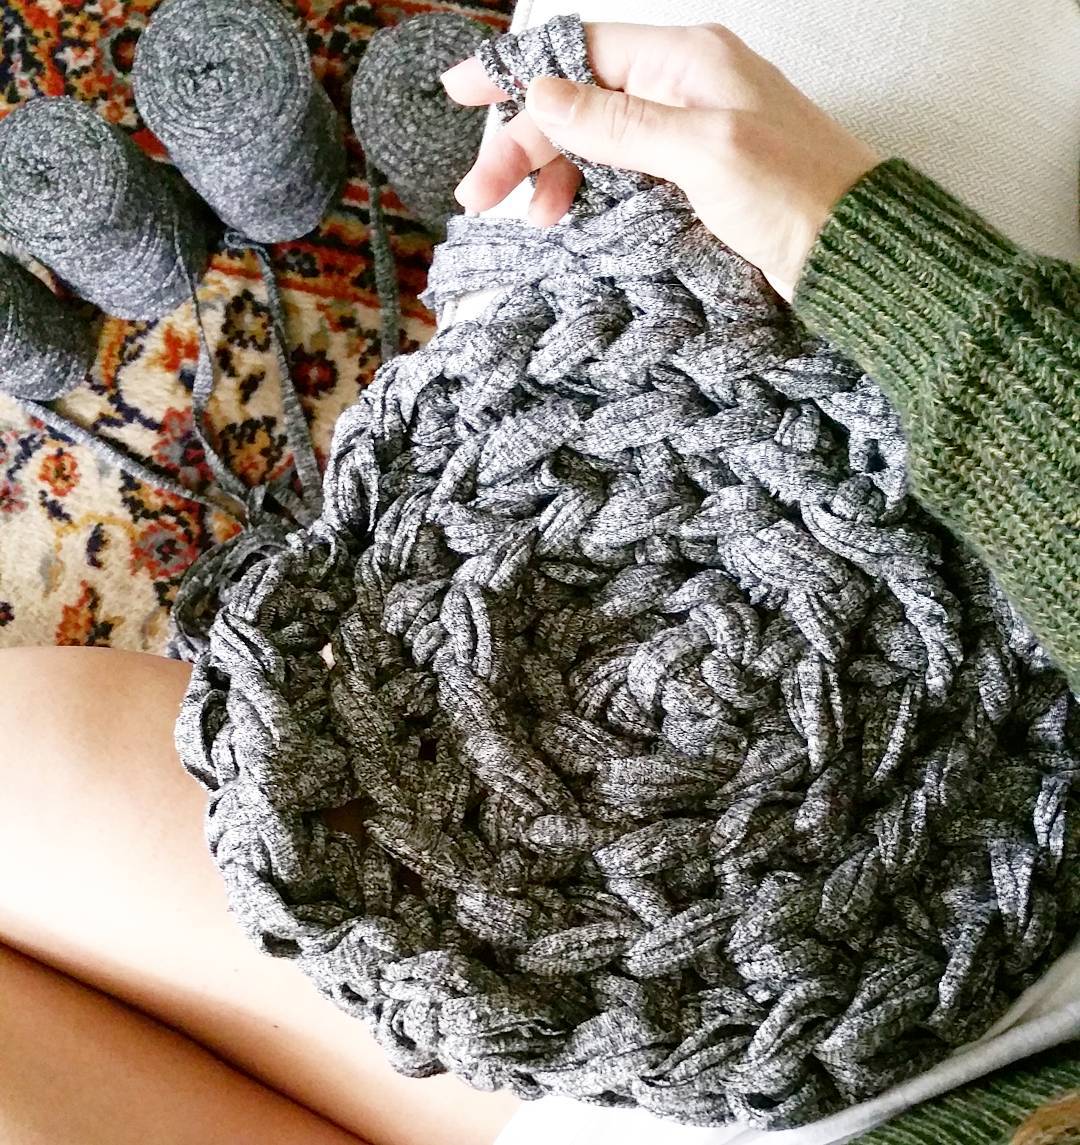
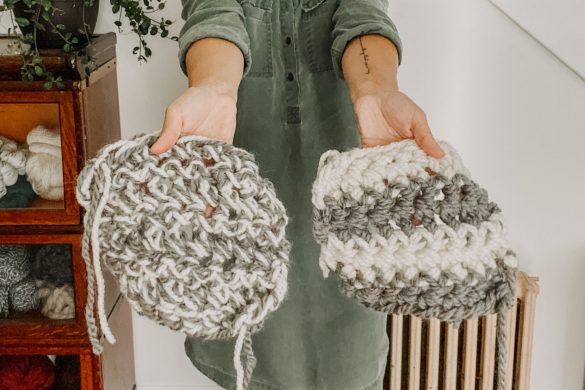
Now with hand crochet, you don’t need any tools except for your hands and some yarn! Same as arm knitting. With hand crochet the best yarn to use is super bulky yarn or chunky yarn. Same as arm knitting. If you can’t find a specific yarn in your budget or it’s not available to you try doubling or tripling up on some bulky yarn strands like I do in the project below. Sometimes that “Big Stitch Yarn” or Merino Wool Roving yarn is super expensive when you can get beautiful results by just using what you have.
Materials:
For this project I used 4 skeins of Premier Yarns Craft Tee yarn pulling a strand from each skein and using them all at once as if they are one strand. 352 yards total, 88 yards in each skein. So keep that in mind if you purchase a different yarn.
I also used a stitch holder to mark the beginning of each round, but a scrap of yarn will do.
**Unfortunately, I spoke with the creative director of Premier Yarns and Craft Tee is being discontinued.**
I recommend using a super bulky yarn and tripling or quadrupling your strands. Whatever gives you the look you prefer!
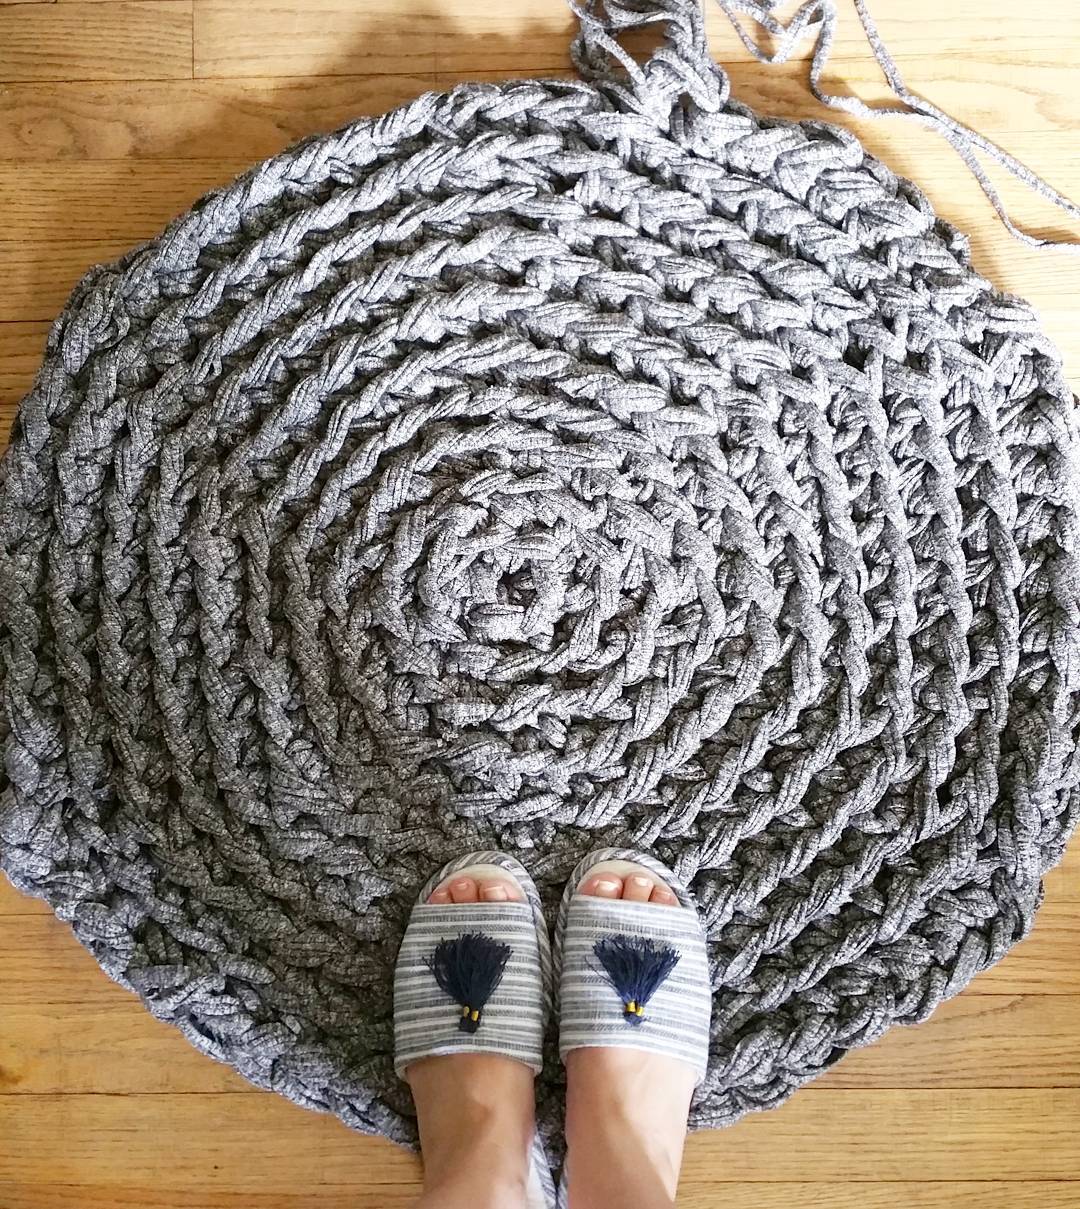
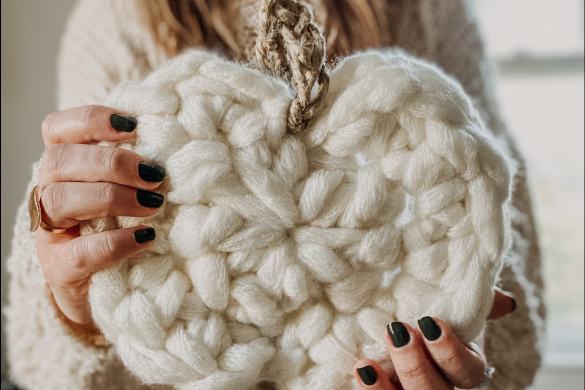
This rug is super cushiony because of the yarn type and yarn amount I used.
Try using Deborah Norville Serenity Active Yarn. 84 yards in each skein. I recommend quadrupling your strands with this yarn as well. It’s a durable yarn and machine washable. Great for a rug!
How to Arm Crochet a rug: Video Coming Soon!
-Start by making a slip knot, leaving a 6 inch tail to weave in when you’re done.
-Insert you thumb, index and middle fingers into the slip knot loop, grab the working yarn (yarn attached to the skein) and pull it through the slip knot loop to create a new loop.
Insert your fingers into the new loop and grab the working yarn and pull it through the loop to create the next loop. *This is called a chain.
-Insert your fingers into the second chain you created and also into the original slip knot loop and grab the working yarn and pull through both the slip knot and chain loops. You have just connected the ends creating a circle to start your circular rug.
Starting your single crochets to start shaping your rug
-Insert your fingers into the new loop and through the hole in the center of the mat, grab the working yarn and pull through the hole creating a second loop on your fingers. You should now have two loops on your fingers. Grab the working yarn again and pull through both loops on your fingers. Repeat this 5 more times to create 6 single crochets in the original slip knot loop.
-Once you have made 6 single crochets in the slip knot use a stitch holder or scrap yarn to mark the 1st stitch of the round so you know when to start a new round of counting.
From here on out you’ll be working in the back loop of each single crochet. This will create the spiral look you see on my rug.
-Round 2, work 2 single crochet into the back loop of each single crochet.
*Move your stitch marker to the new first stitch of each round as you work on you rug.
-Round 3, work 2 single crochet into back loop of the first single crochet, 1 single crochet into the back loop of the second single crochet and repeat that pattern the entire round. 2,1,2,1,2..etc.
-Round 4, work 2 single crochet into the first single crochet, work 1 single crochet into the next 2 single crochet and repeat that pattern the entire round. 2,1,1,2,1,1…etc.
-Round 5, work 2 single crochet in the the first single crochet, work 1 single crochet into the next 3 single crochet and repeat that pattern the entire round. 2,1,1,1,2,1,1,1…etc.
You may notice the pattern from round to round. We are adding in another single crochet between each of the single crochets that receive two. Make sense?
*Continue this for however many rounds you would like! I believe I made it to 10 rounds before running out of yarn.
-To finish the edge make a slip stitch into the last 2 single crochets of the last round. To do this, simply insert your fingers into your loop and into the back loop of the next singe crochet, pull the working yarn through both loops on your fingers. Do this one more time into the last single crochet of that round.
-Now weave in your tail.
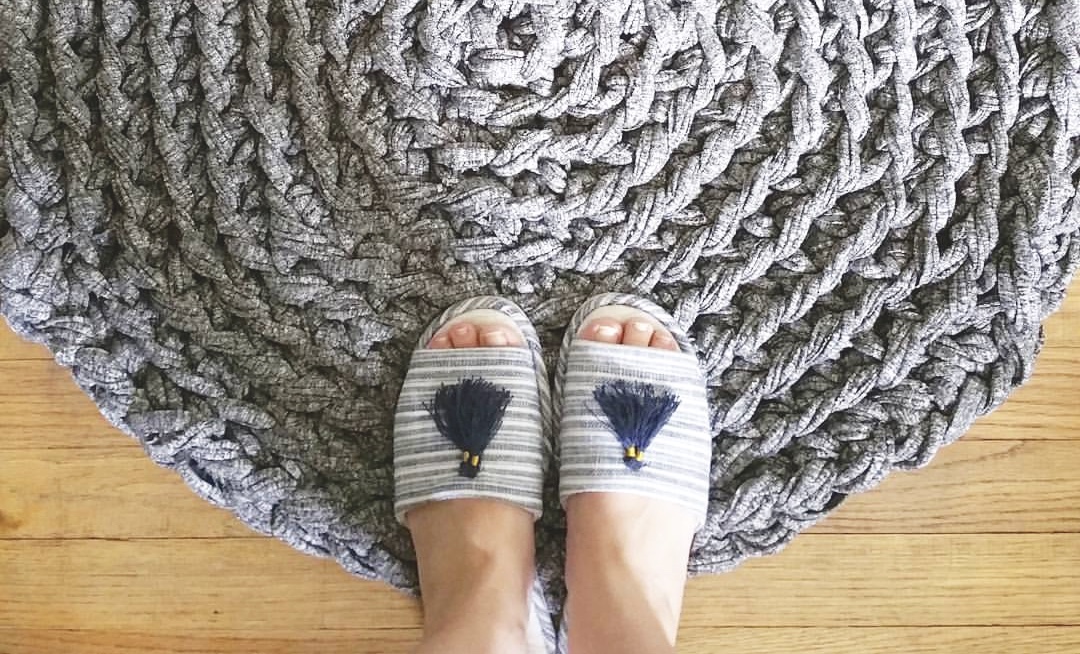
This makes for a great floor mat or throw rug for your kitchen, closet, bathroom or wherever you may want some extra comfort or style!
A large area rug pattern and more photos to come soon!

2 comments
Love this!! I’m going to give this a try 🙂 thank you for sharing, you make beautiful things!
I really enjoyed making this. You made it really easy to follow.Thanks for sharing.